VIP & Brand
Corporate & Conferences
Marketing & Internal
Fundraising & Ticketed Events
Business & Finance
Mission-driven
Education & Faith
Venues & Media
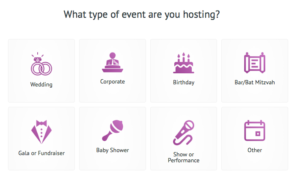
Weddings
Milestones
Faith & Cultural
Celebrations & Memorials
Trusted by 150,000+ event teams
G2
★★★★★
Capterra
★★★★★
SOC 2 Type II
View all features →
Book a demo
CRM & Sales
Payments & Analytics
Automation & Custom
Trusted by 150,000+ event teams
G2
★★★★★
Capterra
★★★★★
SOC 2 Type II
View all features →
Book a demo
Customer stories
Tools & trust
Sales & Support
Company
Trusted by 150,000+ event teams
G2
★★★★★
Capterra
★★★★★
SOC 2 Type II
View all features →
Book a demo
VIP & Brand
Client & VIP events
Customer appreciation
Employee appreciation
Brand activations
Product launches
Corporate & Conferences
Conferences
Summits & forums
Tradeshows & expos
Sales kickoffs
Workshops & classes
Marketing & Internal
Field marketing
Networking events
Internal meetings & trainings
Team building & offsites
Investor & shareholder
Holiday parties
Fundraising & Ticketed Events
Galas & benefit dinners
Donor stewardship
Shows & Performances
Community Events
Forms & Registration
Event registration
Custom registration for any event
Online RSVPs
Flexible forms for any event type
Form builder
Custom questions, fields & flows
Embeddable forms
Embed RSVP on your website
RSVPify MCP
Run your events in plain language
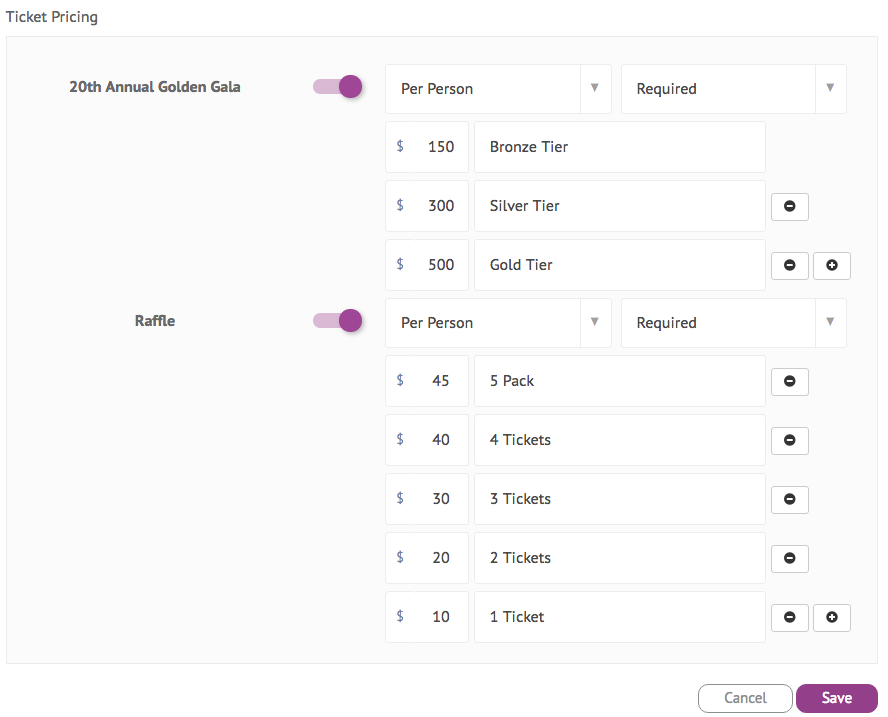
Ticketing & Payments
Event ticketing
Paid registrations, secured by Stripe
Donations
Frictionless giving at checkout
Appointment scheduling
Slot-based bookings
Guest Management
Guest list management
Real-time, plus-ones, seating
Seating charts
Drag-and-drop assignments
Menu & dietary
Meal choices, allergies, restrictions
Contact tagging
Segment for follow-up
Email communications
Invitations, reminders, broadcasts
Event Pages
Event website builder
Drag & drop beautiful event sites
Online invitations
Email + link, fully branded
QR code RSVPs
Touchless RSVPs in one scan
Guest list app
Real-time list on iPhone & iPad
Multi-language
Localized invites & pages
Check-in & Insights
Event check-in app
Scan, search, track in real time
Badge printing
Print on arrival in seconds
Live attendance
Who arrived, when, where
Analytics & reporting
Dashboards, exports & insights
Integrations & API
Salesforce, HubSpot, Zapier, API
CRM & Sales
Salesforce
Auto-sync leads, campaigns & event ROI
HubSpot
Sync registrants, nurture & segment leads
Payments & Analytics
Stripe
Sell tickets & donations, fully secured
Google Analytics
Track page traffic & RSVP conversions
Automation & Custom
Zapier
Automate workflows across 5,000+ apps
Customer stories
Case studies
How teams use RSVPify
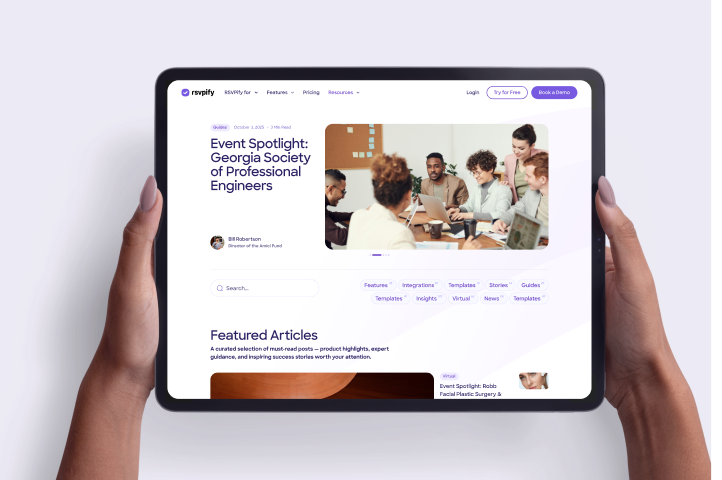
Event spotlights
Profiles on specific events
Reviews
Reviews and ratings
Tools & trust
Privacy & security
How we protect your data
Event ROI calculator
Project value of your events