Launched back in 2008, Google Forms quickly became a must-use tool for creating flexible forms for surveys, polls or quizzes. No matter if you’re collecting job applications or customer feedback or even field trip attendance, Google forms are an intuitive and easy way for both you and your respondents to get on the same page.
While other options might be a better fit for when looking to create a custom QR code to power event registration, we wanted to put together this helpful guide on how to create a QR code for a Google Form to fit the multitude of use cases out there.
Once a Google form has been created, the next step is to share it to everyone you need responses from. You can use your QR code to share:
While you can do so by sending out an email, or sharing a link on the internet, an even fancier way of doing this would be by creating a QR code for a Google form that when scanned can direct folks to the form you created. The good news is, creating a QR code for a Google form is easier than you might think. Here's how to do it:
The first step is to find a QR code generator. Here are a few good options:
Once you have found the right QR code generator for your needs, the next step is....
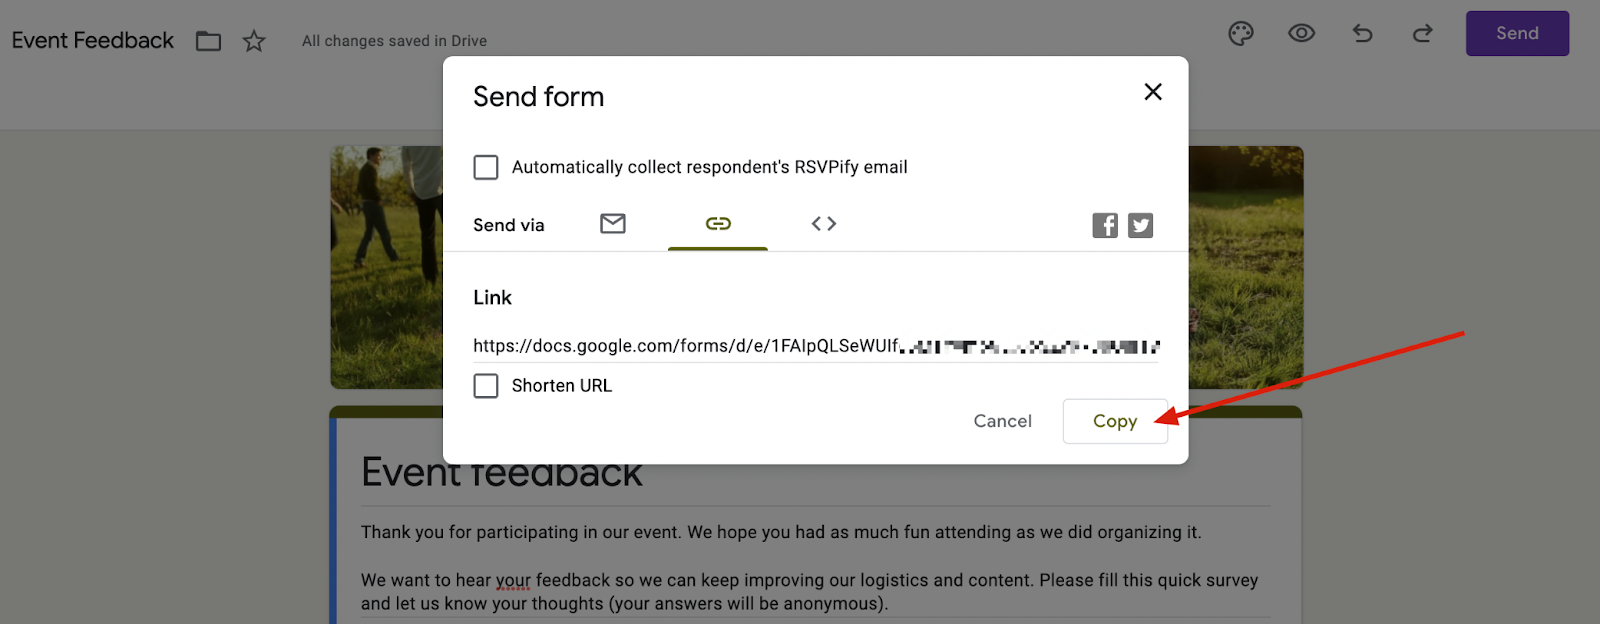
After finishing your form, click the Send button at the top-right corner of the screen. Then, choose the link icon (🔗), which will generate a shareable link. You can also shorten the URL using the provided checkbox if you prefer a more concise link for your QR code.
If you're using the Google Forms add-on, the tool will capture your form's URL automatically!
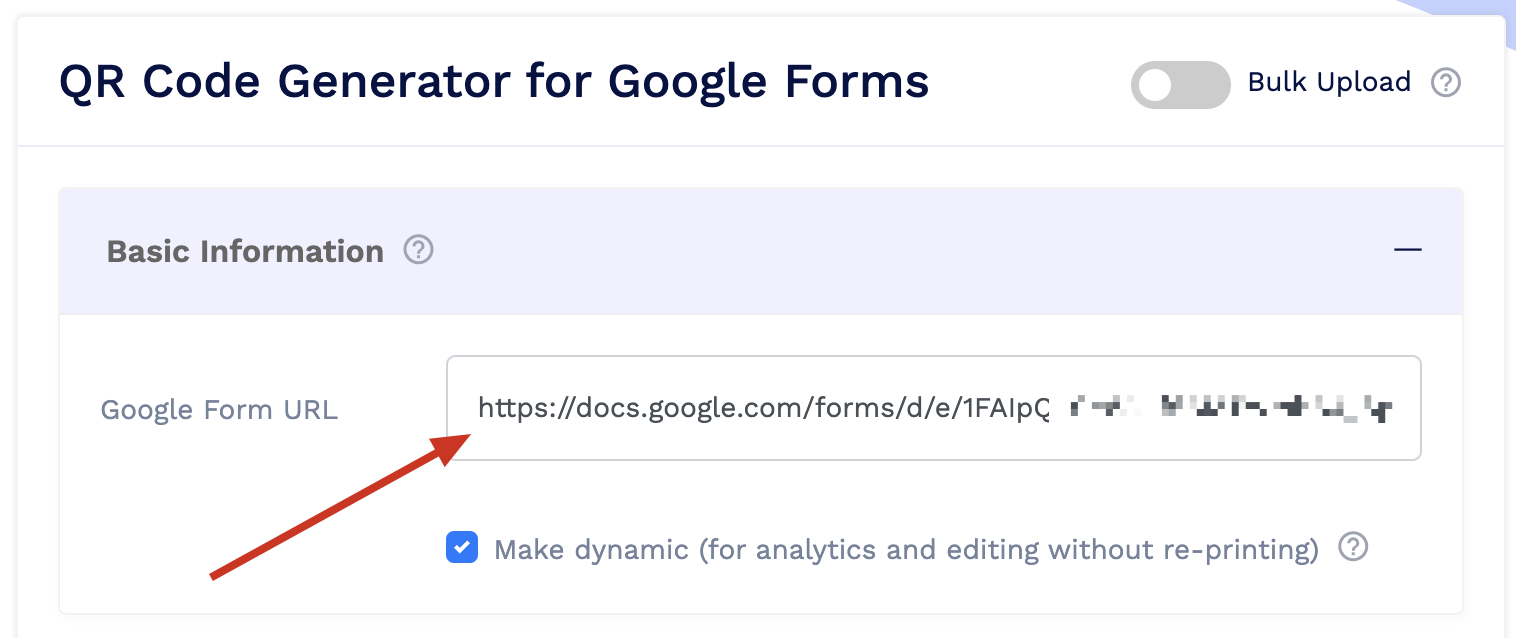
Paste the copied Google Form link into the input field. Some generators may offer additional features like:
If the generator allows it, you can personalize your QR code to fit your branding or event. Consider these customization options:
After finalizing the design, download the QR code in a format that suits your needs (usually PNG or SVG for high resolution). Once downloaded, you can add the QR code to printed materials, digital invites, or share it on social media to make your Google Form easily accessible.
No. However, you can use Chrome plugins, Google Forms add-ons, or online QR code generators.
Some static codes are free, but payment is often required for extras like customization/dynamic codes.
Static codes are unchanging - they are easy and often free, but don't allow you to make changes. Dynamic codes are able to be edited if there are changes to designs or links, for example.
If you're using an event platform or other integration, you can often track scans within your dashboard. You can also add UTM parameters to the link to identify traffic coming from it to your website.

Share
Get the latest product updates, event planning tips, and industry insights — straight to your inbox.
You can unsubscribe at any time. Your email will only be used to send RSVPify updates and will never be shared.